@Pharizna said in cool pi 4b RebornOS support:
@george Armbian, for example
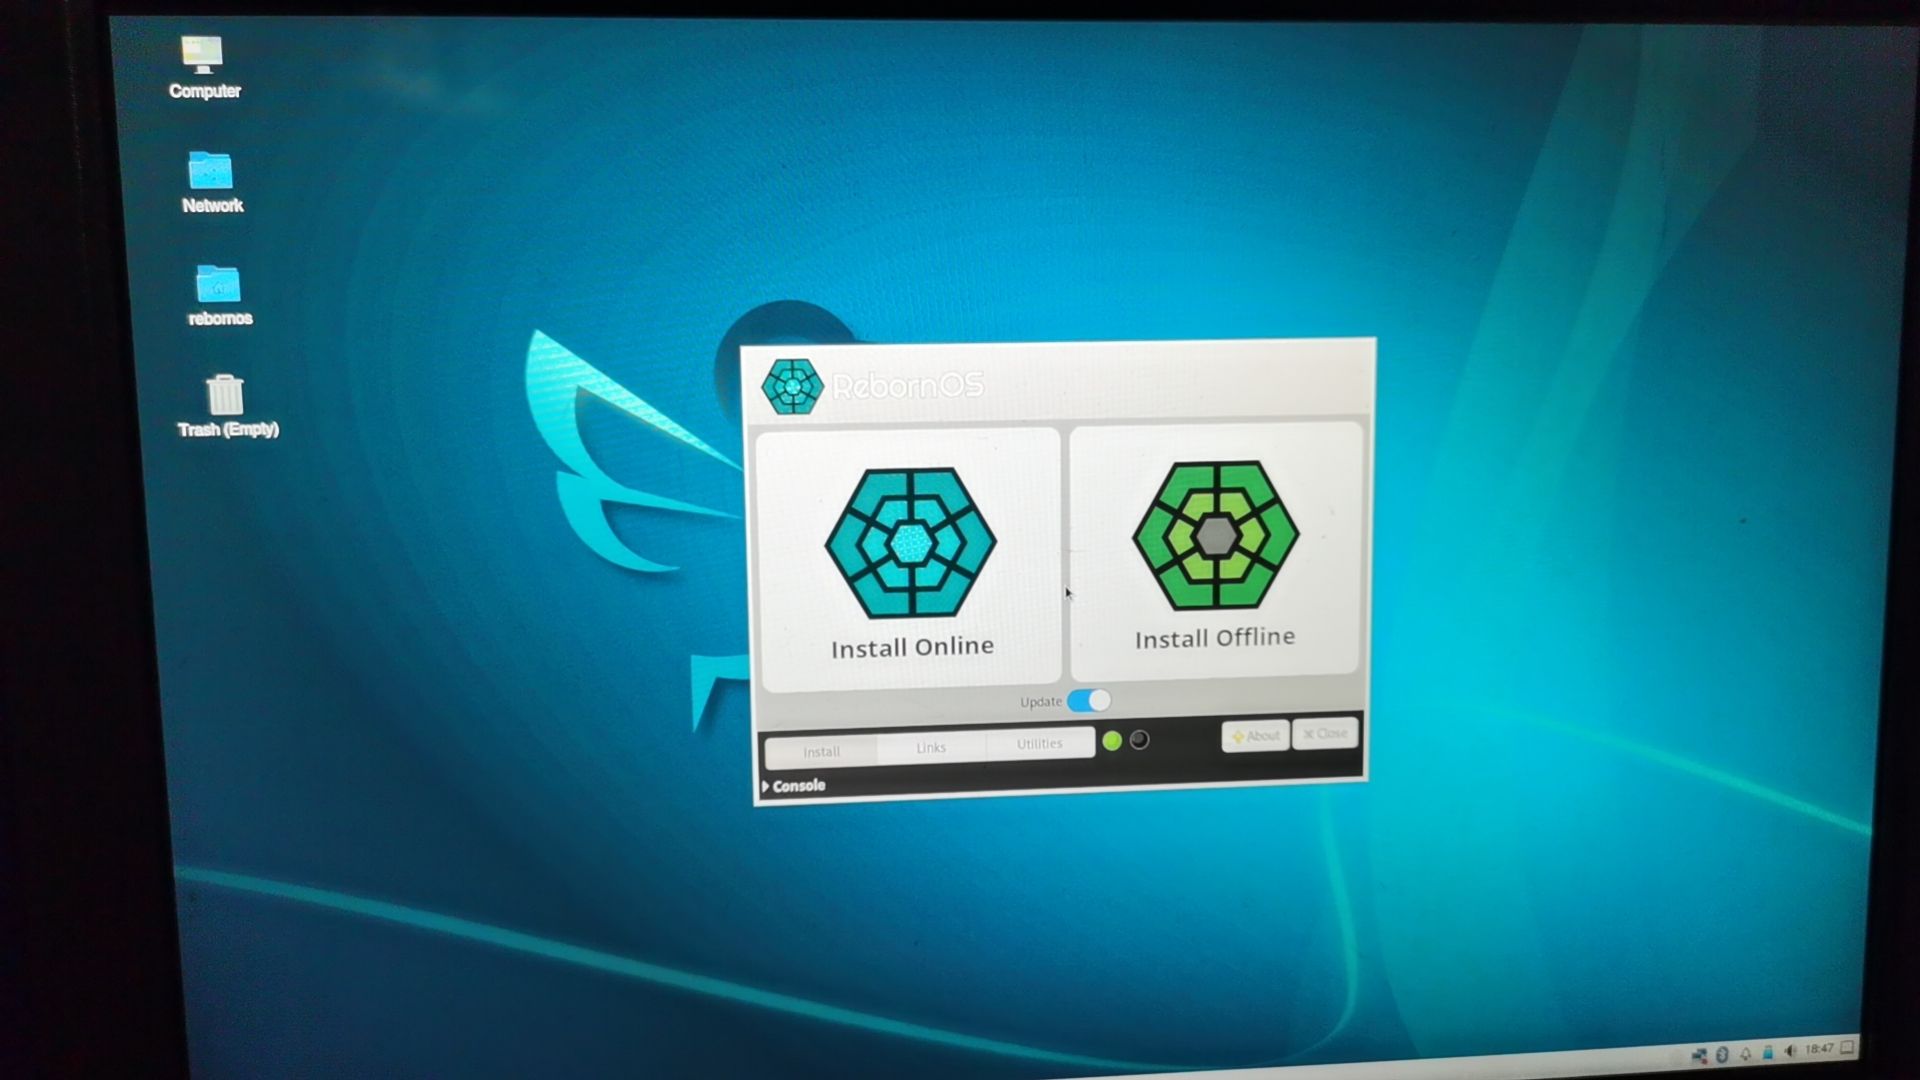
I'd like to test Android or OpenEuler, for example ... but I don't know how to install "preinstalled" images .
It seems is not enough to use BalenaEtcher to create a SD/TF to start/run. Help?
")
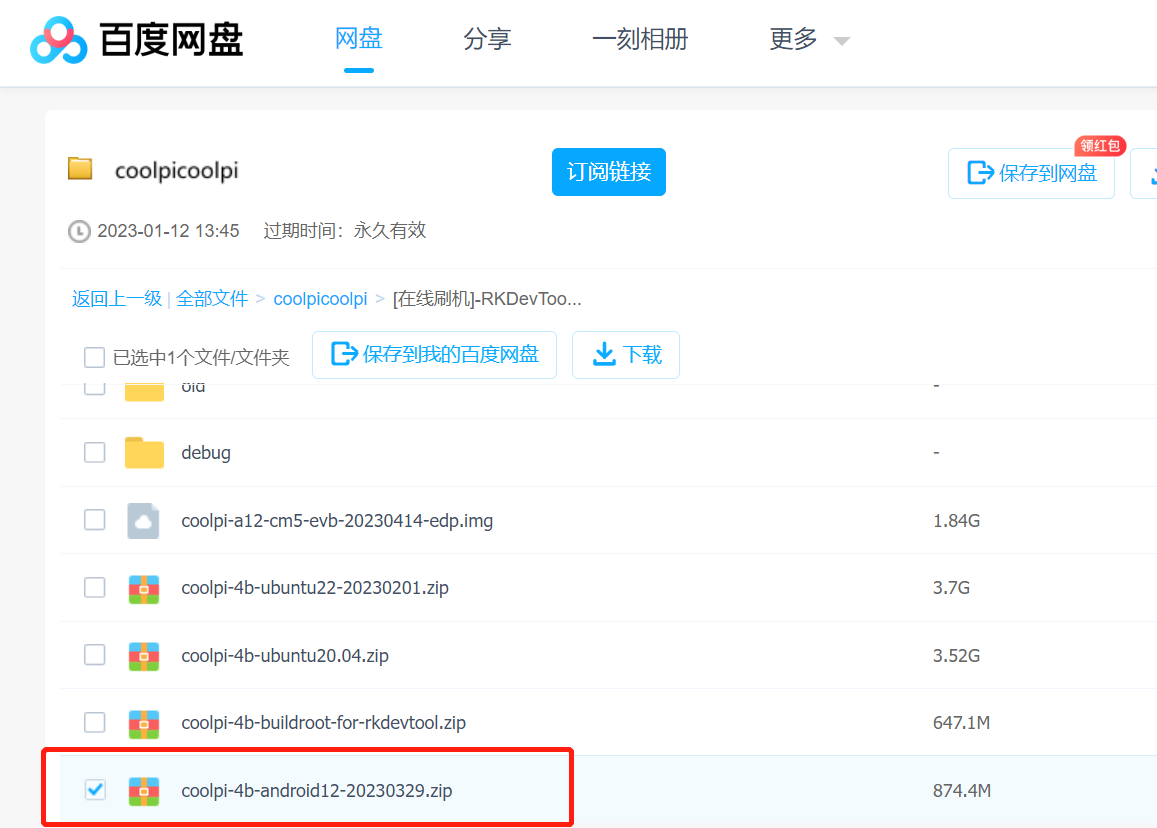
Android firmware can be used with Etcher now. Please use the latest download link onedrive or 百度网盘.