Cool pi 4B & CM5 探索快速安装系统新方法
-
@AugustRobot_Zou 通过u盘方式可以按优先级自动安装
-
进入ubuntu的默认密码是什么?
-
@wuming coolpi/coolpi
-
@大法师 我把console=tty0改成了ttyS0,115200n81,但是串口还是没有输出调试信息
-
@Twsuts 主板是4B还是CM5,串口启动信息发一个
-
usb cable 2.0的就行了吧
-
@jugg 可以的
-
This post is deleted! -
This post is deleted! -
This post is deleted! -
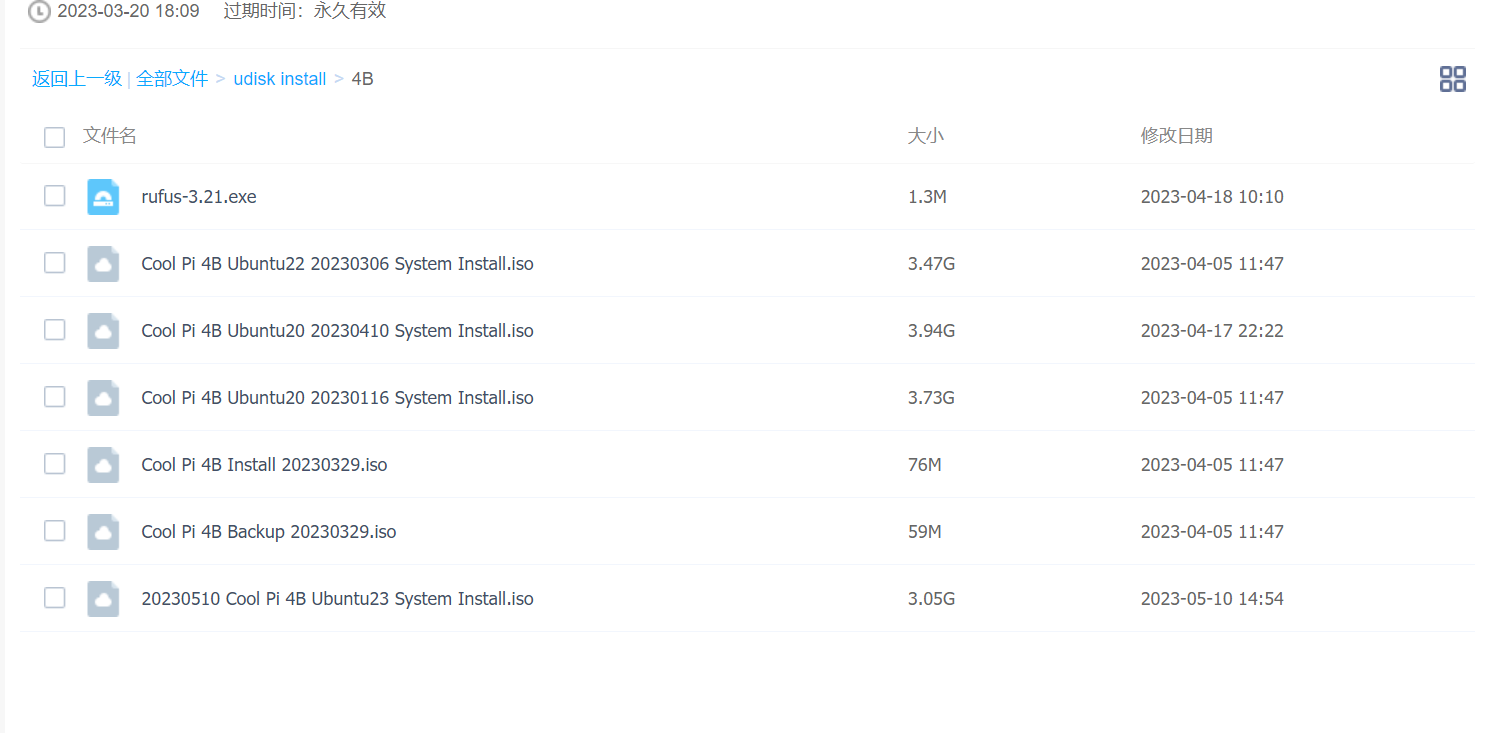
这里这么多镜像
到底怎么用
用哪个我刷了

打不开啊
怎么备份?怎么还原?能不能描述清楚
备份是备份emmc的所以还是只备份了文件系统 -
@edwardzhou said in Cool pi 4B & CM5 探索快速安装系统新方法:
最近一直在用这个方法,非常太好用太方便了。
我对上面的备份安装放在同一个U盘实现的方法,做了一些改进,通过启动菜单选择 备份 还是 安装, 比每次去改 initrd.img 要方便很多。
步骤1. 编辑 /extlinux/extlinux.conf 如下
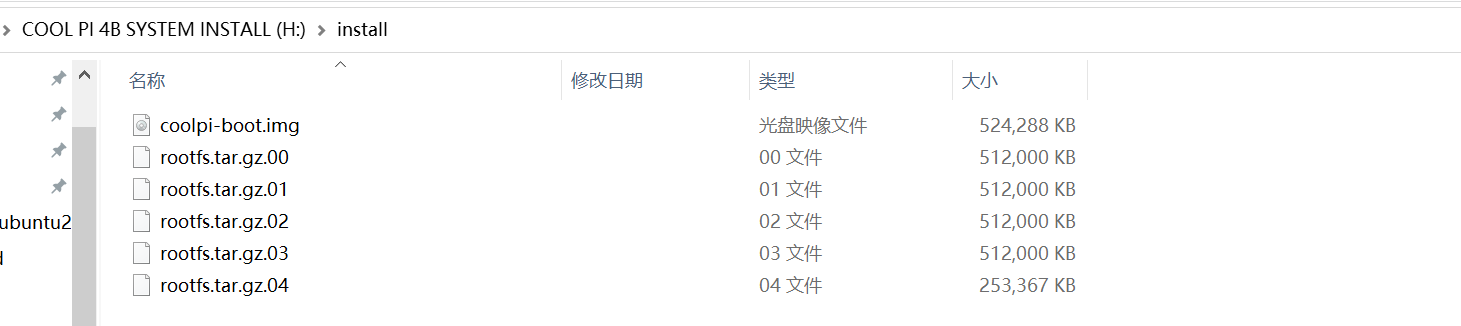
menu title Select the boot mode
TIMEOUT 60
default Linux coolpi backup

label Linux coolpi backup
	kernel /Image
	initrd /initrd-backup.img
	fdt    /rk3588s-cp4.dtb
	append root=LABEL=writable rw rootfstype=ext4 console=ttyS0,115200n81 quiet splash plymouth.ignore-serial-consoles vt.global_cursor_default=1 irqchip.gicv3_pseudo_nmi=0 net.ifnames=0

label Linux coolpi install
	kernel /Image
	initrd /initrd-install.img
	fdt    /rk3588s-cp4.dtb
	append root=LABEL=writable rw rootfstype=ext4 console=ttyS0,115200n81 quiet splash plymouth.ignore-serial-consoles vt.global_cursor_default=1 irqchip.gicv3_pseudo_nmi=0 net.ifnames=0
步骤2, 把 install 中的 initrd.img 复制过来,并改名为 initrd-install.img
步骤3, 把 backup 中的 initrd.img 复制过来,并改名为 initrd-backup.img
U盘查到板子上,上电启动。
你局可以看到菜单Capacity: 30436.5 MB = 29.7 GB (62333952 x 512) ... is now current device Scanning usb 0:1... Found /extlinux/extlinux.conf Retrieving file: /extlinux/extlinux.conf reading /extlinux/extlinux.conf 629 bytes read in 39 ms (15.6 KiB/s) Select the boot mode 1: Linux coolpi backup 2: Linux coolpi install Enter choice:输入1 或 2 回车即可,默认是1, 60秒无输入,则自动启动backup
可以参考 edwardzhou 整理的内容
@jugg -
@大法师
根本就还原不了 各种问题 -
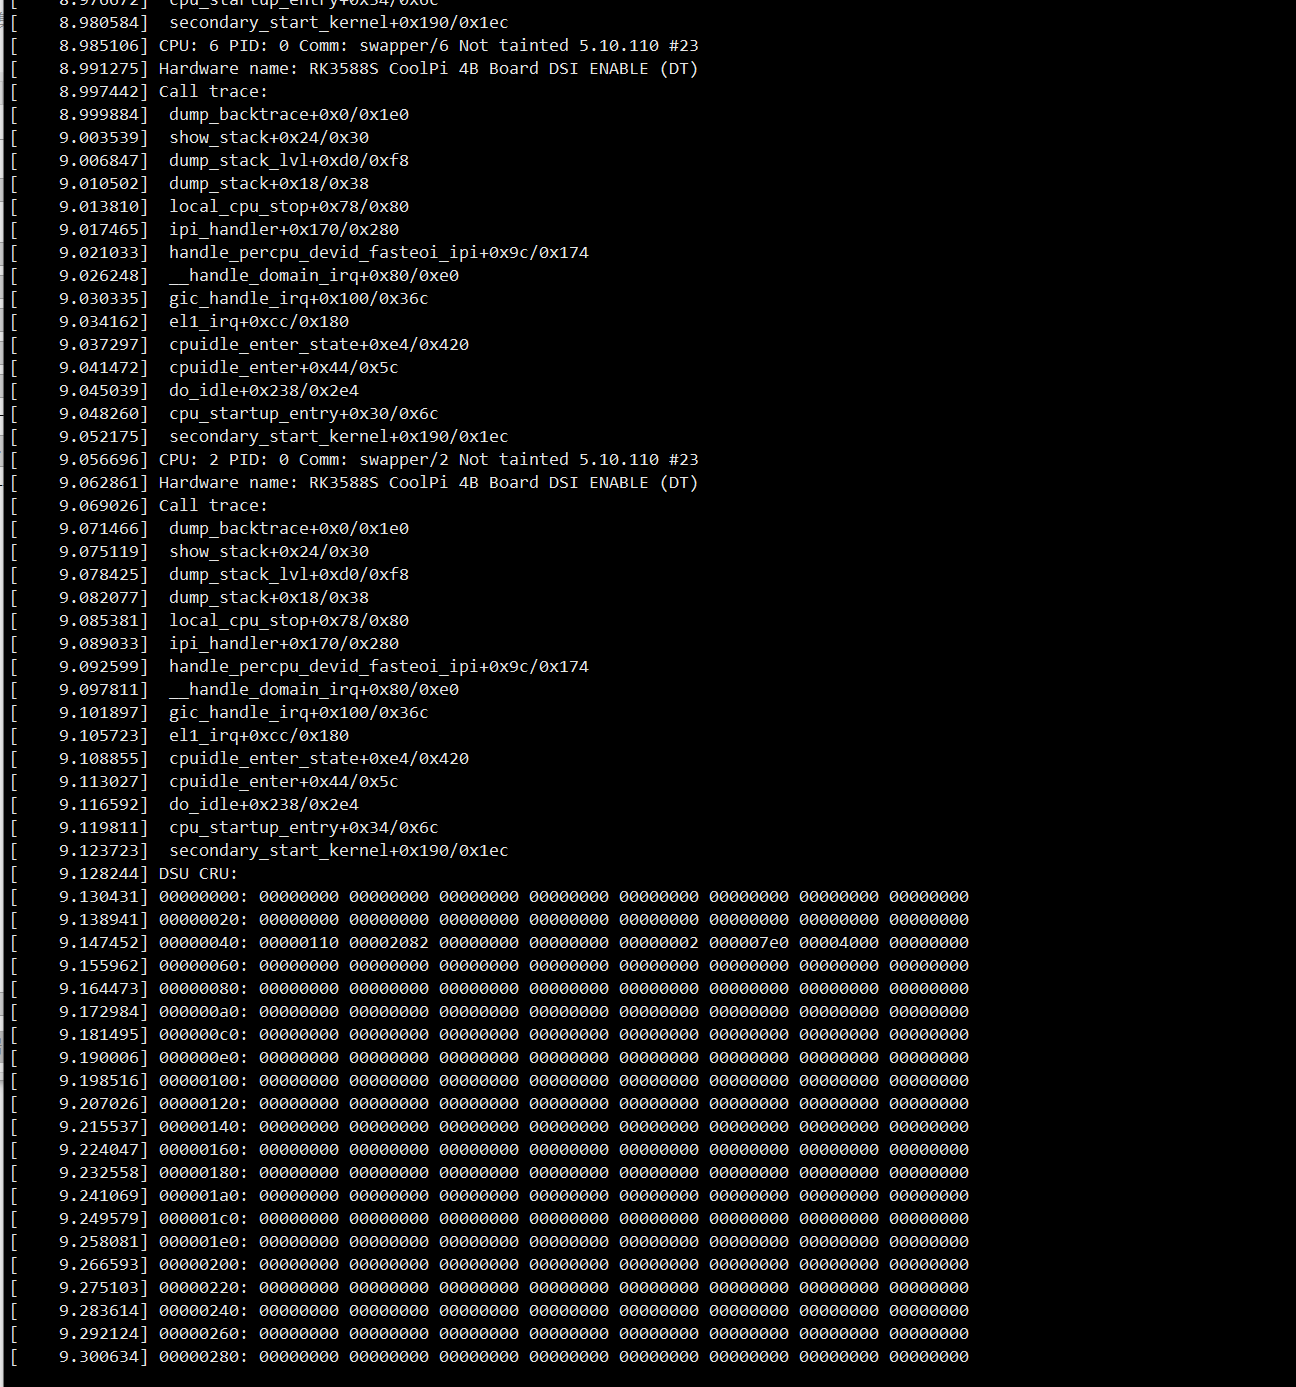
这就是还原出来的系统 两次都这样 根本启动不了 -
@jugg 梳理下使用方法,顶楼有iso下载链接
-
@大法师
把备份盘的放到这里 不就可以了?
备份的时候显示器有进度 还原过程显示器也有进度 中间都没有异常
但是还原的系统就是上面那样 开不了机 -
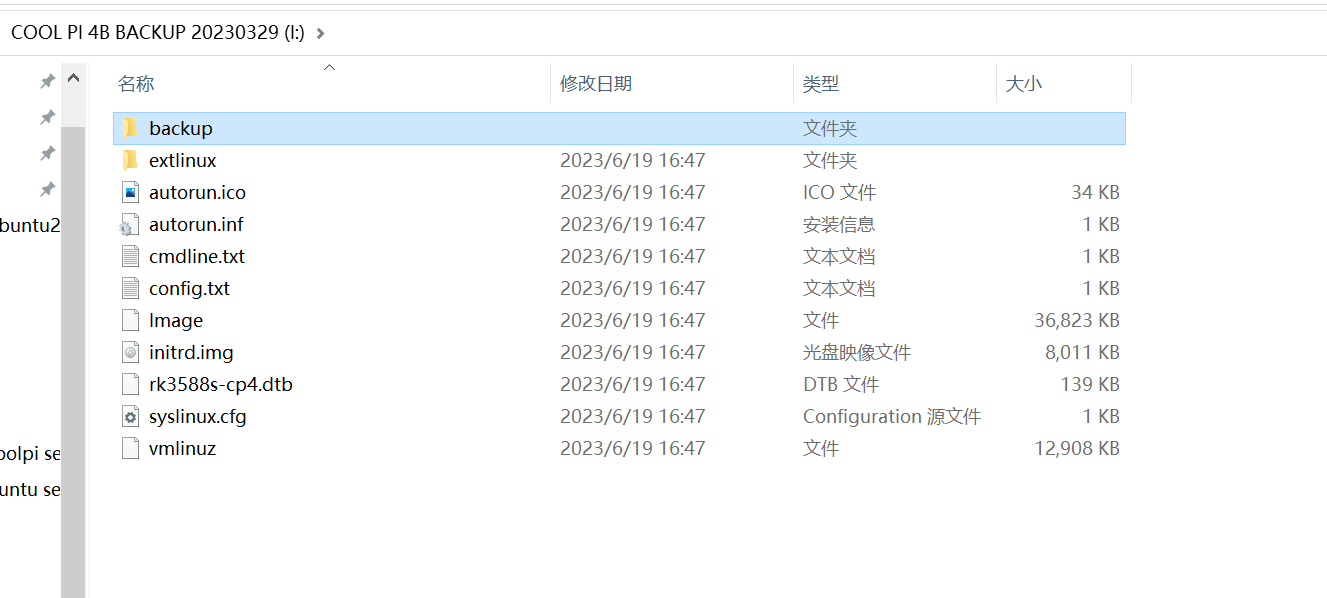
备份盘的backup里面的内容已经剪切出来了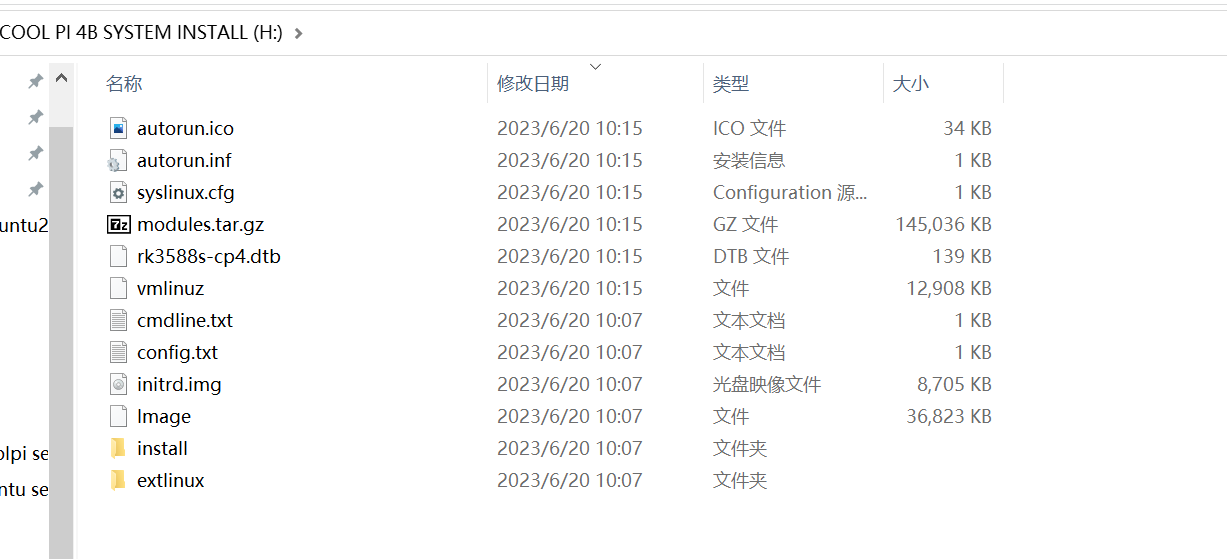
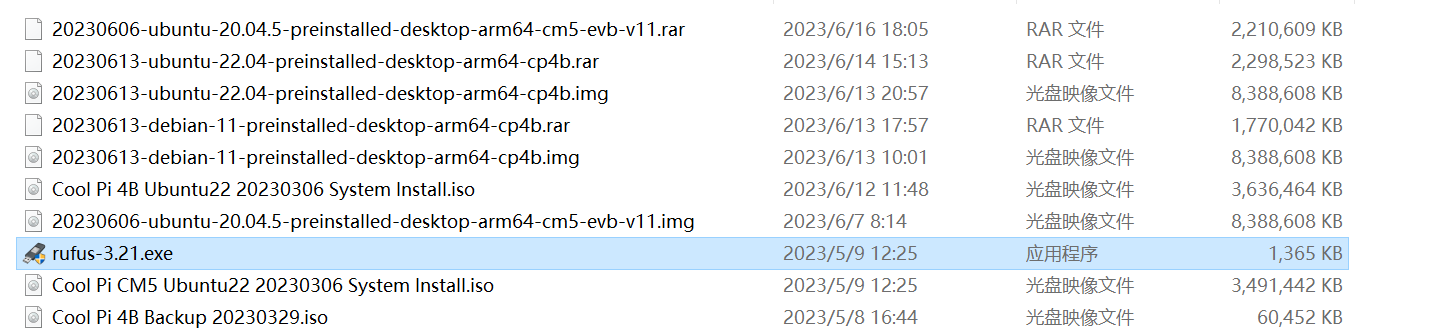
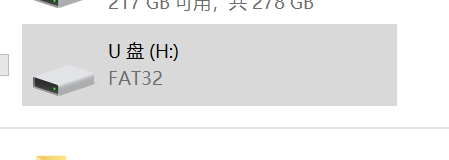
rufus 做的系统盘和备份盘
这中间有什么问题?这些系统盘和备份盘 都是我新做的
之前做的盘备份、还原都行
这次的不行 我就重新刷了一遍 结果还是一样 -
昨天我用我之前做的备份盘 备份系统 发现一备份就死机
然后重新刷了备份盘 备份成功
结果还原的系统进不去
然后又刷了还原盘
结果还原的还是进不去
(https://cool-pi.com/topic/360/系统备份异常/6) -
@jugg 可以试下把你本地内核源码目录,编译生成的Image、dtb文件拷贝到U盘(U盘 根目录 install盘或backup盘)
-
@jack_admin 没用 刷了 还是进不去
