Posts
-
早期版本 Ubuntu22.04 rknn toolkit lite2环境部署posted in AI Algorithm
默认Ubuntu22预装python3.10,暂时与RKNN 本机开发环境不一致,需要单独安装python3.9版本。
step1:增加源
sudo add-apt-repository ppa:deadsnakes/ppa

sudo apt update

sudo apt-mark unhold libexpat1

sudo apt install python3.9* -y

#sudo update-alternatives --list python

#sudo update-alternatives --install /usr/bin/python3 python3  /usr/bin/python3.9 1

#sudo update-alternatives --config python3
setp 2:安装pip3
sudo apt-mark unhold libcurl4 sudo apt install curl -y curl https://bootstrap.pypa.io/get-pip.py -o get-pip.py python3.9 get-pip.py export PATH=/home/ubuntu/.local/bin:$PATH pip3 -V pip3 install numpy --upgrade pip3 install opencv-python #check opencv python3.9 -c "import cv2; print(cv2.__version__)"step 3: 安装rknn toolkit lite2
git clone https://gitee.com/yanyitech/rknpu2.git

sudo cp -arf rknpu2/runtime/RK3588/Linux/librknn_api/aarch64/* /usr/lib/

git clone https://gitee.com/yanyitech/rknn-toolkit2.git

pip3 install rknn-toolkit2/rknn_toolkit_lite2/packages/rknn_toolkit_lite2-1.4.0-cp39-cp39-linux_aarch64.whl
step 4: 验证运行环境
cd rknn-toolkit2/rknn_toolkit_lite2/examples/inference_with_lite ubuntu@coolpi:~/rknn-toolkit2/rknn_toolkit_lite2/examples/inference_with_lite$ python3.9 test.py --> Load RKNN model done --> Init runtime environment I RKNN: [10:19:55.691] RKNN Runtime Information: librknnrt version: 1.4.0 (a10f100eb@2022-09-09T09:07:14) I RKNN: [10:19:55.691] RKNN Driver Information: version: 0.8.0 I RKNN: [10:19:55.691] RKNN Model Information: version: 1, toolkit version: 1.4.0-c15f5e0b(compiler version: 1.4.0 (c73777b51@2022-09-05T12:06:01)), target: RKNPU v2, target platform: rk3588, framework name: PyTorch, framework layout: NCHW done --> Running model resnet18 -----TOP 5----- [812]: 0.9996696710586548 [404]: 0.0002492684288881719 [657]: 1.632158637221437e-05 [833]: 1.0159346857108176e-05 [466 895]: 9.02384545042878e-06 done -
每个开发者都需要的私有化git服务器posted in Maker
基于Coolpi 4B搭建流行的gitlab服务器,一步到位。
gitlab_install.shubuntu@coolpi:~$ ./gitlab_install.sh libcurl4 was already not on hold. Reading package lists... Done Building dependency tree... Done Reading state information... Done curl is already the newest version (7.81.0-1ubuntu1.6). 0 upgraded, 0 newly installed, 0 to remove and 230 not upgraded. Detected operating system as Ubuntu/jammy. Checking for curl... Detected curl... Checking for gpg... Detected gpg... Running apt-get update... done. Installing apt-transport-https... done. Installing /etc/apt/sources.list.d/gitlab_gitlab-ce.list...done. Importing packagecloud gpg key... done. Running apt-get update... done. The repository is setup! You can now install packages. ubuntu@coolpi:~$选择你需要的版本,安装它
ubuntu@coolpi:~$ sudo apt install gitlab-ce=15.6.0-ce.0
Reading package lists... Done
Building dependency tree... Done
Reading state information... Done
The following NEW packages will be installed:
  gitlab-ce
0 upgraded, 1 newly installed, 0 to remove and 230 not upgraded.
Need to get 1,148 MB of archives.
After this operation, 3,869 MB of additional disk space will be used.
Get:1 https://packages.gitlab.com/gitlab/gitlab-ce/ubuntu jammy/main arm64 gitlab-ce arm64 15.6.0-ce.0 [1,148 MB]
Fetched 1,148 MB in 1min 10s (16.3 MB/s)
Selecting previously unselected package gitlab-ce.
(Reading database ... 148928 files and directories currently installed.)
Preparing to unpack .../gitlab-ce_15.6.0-ce.0_arm64.deb ...
Unpacking gitlab-ce (15.6.0-ce.0) ...
Setting up gitlab-ce (15.6.0-ce.0) ...
It looks like GitLab has not been configured yet; skipping the upgrade script.

       *.                  *.
      ***                 ***
     *****               *****
    .******             *******
    ********            ********
   ,,,,,,,,,***********,,,,,,,,,
  ,,,,,,,,,,,*********,,,,,,,,,,,
  .,,,,,,,,,,,*******,,,,,,,,,,,,
      ,,,,,,,,,*****,,,,,,,,,.
         ,,,,,,,****,,,,,,
            .,,,***,,,,
                ,*,.


     _______ __  __          __
    / ____(_) /_/ /   ____ _/ /_
   / / __/ / __/ /   / __ `/ __ \
  / /_/ / / /_/ /___/ /_/ / /_/ /
  \____/_/\__/_____/\__,_/_.___/


Thank you for installing GitLab!
GitLab was unable to detect a valid hostname for your instance.
Please configure a URL for your GitLab instance by setting `external_url`
configuration in /etc/gitlab/gitlab.rb file.
Then, you can start your GitLab instance by running the following command:
  sudo gitlab-ctl reconfigure

For a comprehensive list of configuration options please see the Omnibus GitLab
readme
https://gitlab.com/gitlab-org/omnibus-gitlab/blob/master/README.md

Help us improve the installation experience, let us know how we did with a 1 min
ute survey:
https://gitlab.fra1.qualtrics.com/jfe/form/SV_6kVqZANThUQ1bZb?installation=omnib
us&release=15-6

ubuntu@coolpi:~$
修改默认配置文件,重新部署初始化配置
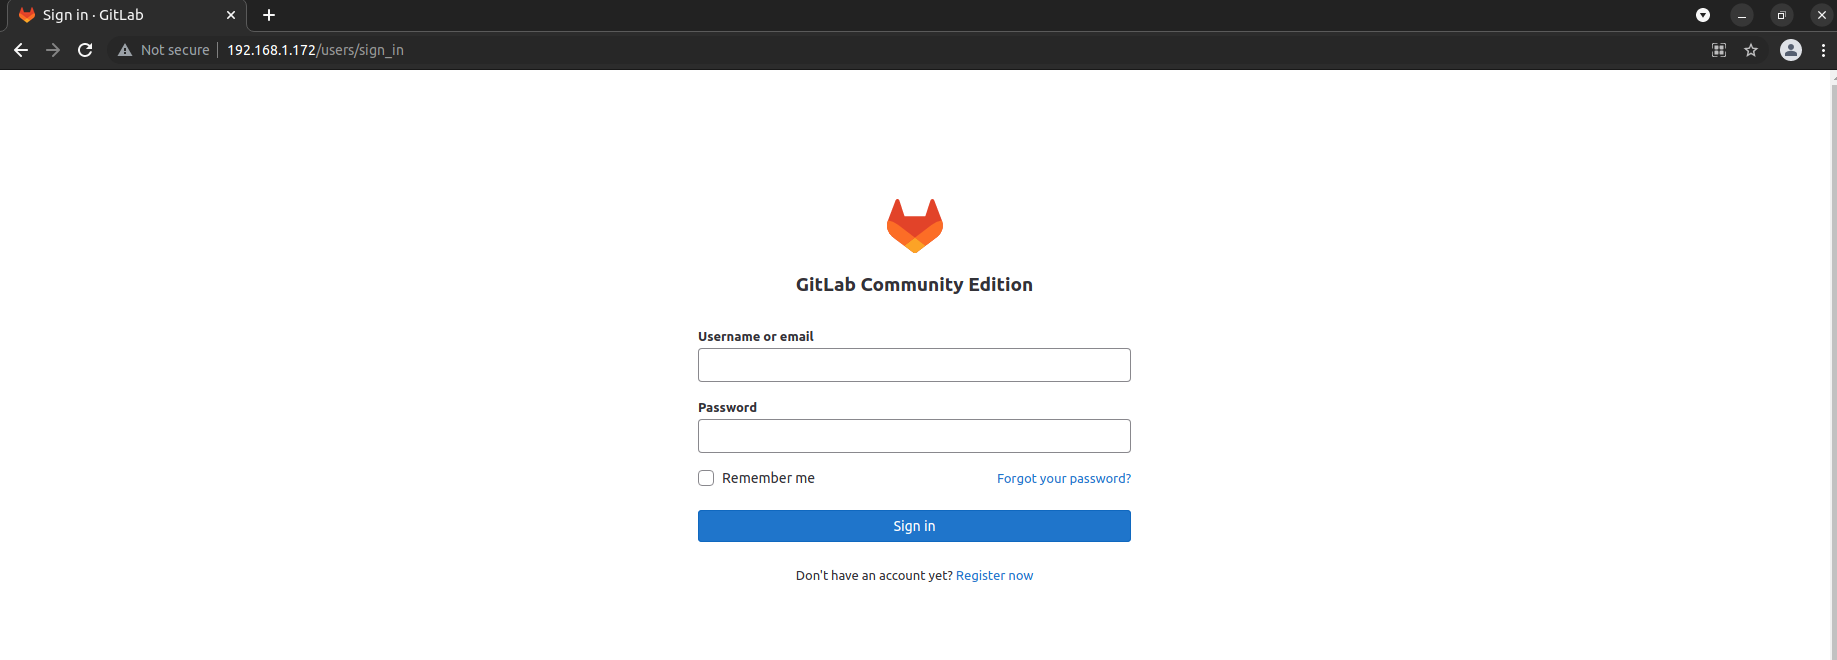
ubuntu@coolpi:~$ sudo vim /etc/gitlab/gitlab.rb
...
#external_url 'http://gitlab.example.com'
external_url 'http://192.168.1.172'
...

ubuntu@coolpi:~$ sudo gitlab-ctl reconfigure
...
Notes:
Default admin account has been configured with following details:
Username: root
Password: You didn't opt-in to print initial root password to STDOUT.
Password stored to /etc/gitlab/initial_root_password. This file will be cleaned up in first reconfigure run after 24 hours.

NOTE: Because these credentials might be present in your log files in plain text, it is highly recommended to reset the password following https://docs.gitlab.com/ee/security/reset_user_password.html#reset-your-root-password.

gitlab Reconfigured!
初始root用户密码请查看文件
ubuntu@coolpi:~$ sudo cat /etc/gitlab/initial_root_password
[sudo] password for ubuntu:
# WARNING: This value is valid only in the following conditions
#          1. If provided manually (either via `GITLAB_ROOT_PASSWORD` environment variable or via `gitlab_rails['initial_root_password']` setting in `gitlab.rb`, it was provided before database was seeded for the first time (usually, the first reconfigure run).
#          2. Password hasn't been changed manually, either via UI or via command line.
#
#          If the password shown here doesn't work, you must reset the admin password following https://docs.gitlab.com/ee/security/reset_user_password.html#reset-your-root-password.

Password: HQQY3tBsOGOW2jd2gmiLDROf3fEnKH8CW3ZFnikPlHg=

# NOTE: This file will be automatically deleted in the first reconfigure run after 24 hours.
浏览器访问http://localhost 或者 http://192.168.1.172

-
Ubuntu audio record and playposted in Maker
GUI: apt install audacity CLI: arecord -D hw:2,0 -d 10 -r 48000 -c 2 -f S16_LE test.wav aplay -D hw:2,0 test.wav -
Ubuntu docker user guideposted in Ubuntu
Check your linux system whether installed docker, if done skip this step.
curl -fsSL https://download.docker.com/linux/ubuntu/gpg | sudo gpg --dearmor -o /etc/apt/keyrings/docker.gpg

echo   "deb [arch=$(dpkg --print-architecture) signed-by=/etc/apt/keyrings/docker.gpg] https://download.docker.com/linux/ubuntu \
    $(lsb_release -cs) stable" | sudo tee /etc/apt/sources.list.d/docker.list > /dev/null

apt update

apt-get install docker-ce docker-ce-cli containerd.io docker-compose-plugin
Non-root users need to add sudo prefix. This operation is complicated. Now use the following operation to remove it.
sudo groupadd docker
sudo gpasswd -a ${USER} docker
sudo systemctl restart docker
exit or open a new terminal shell
Run hello-world image
coolpi@coolpi:~$ docker version
Client: Docker Engine - Community
 Version:           20.10.22
 API version:       1.41
 Go version:        go1.18.9
 Git commit:        3a2c30b
 Built:             Thu Dec 15 22:27:17 2022
 OS/Arch:           linux/arm64
 Context:           default
 Experimental:      true

Server: Docker Engine - Community
 Engine:
  Version:          20.10.22
  API version:      1.41 (minimum version 1.12)
  Go version:       go1.18.9
  Git commit:       42c8b31
  Built:            Thu Dec 15 22:25:29 2022
  OS/Arch:          linux/arm64
  Experimental:     false
 containerd:
  Version:          1.6.14
  GitCommit:        9ba4b250366a5ddde94bb7c9d1def331423aa323
 runc:
  Version:          1.1.4
  GitCommit:        v1.1.4-0-g5fd4c4d
 docker-init:
  Version:          0.19.0
  GitCommit:        de40ad0
coolpi@coolpi:~$ docker run hello-world
Unable to find image 'hello-world:latest' locally
latest: Pulling from library/hello-world
7050e35b49f5: Pull complete
Digest: sha256:aa0cc8055b82dc2509bed2e19b275c8f463506616377219d9642221ab53cf9fe
Status: Downloaded newer image for hello-world:latest

Hello from Docker!
This message shows that your installation appears to be working correctly.

To generate this message, Docker took the following steps:
 1. The Docker client contacted the Docker daemon.
 2. The Docker daemon pulled the "hello-world" image from the Docker Hub.
    (arm64v8)
 3. The Docker daemon created a new container from that image which runs the
    executable that produces the output you are currently reading.
 4. The Docker daemon streamed that output to the Docker client, which sent it
    to your terminal.

To try something more ambitious, you can run an Ubuntu container with:
 $ docker run -it ubuntu bash

Share images, automate workflows, and more with a free Docker ID:
 https://hub.docker.com/

For more examples and ideas, visit:
 https://docs.docker.com/get-started/

coolpi@coolpi:~$
-
RE: Ubuntu22.04 如何安装Python3-devposted in Ubuntu
参考如下
sudo apt-mask unhold python3* python3-* libpython3* libexpat1 sudo apt install python3-dev -
TF卡镜像Wifi预配置posted in Ubuntu
Debian或Ubuntu镜像使用离线刷机方法,镜像写入完成后,在system-boot分区根目录,新建文件wifi.txt,内容参考如下:
ssid="你要连接的wifi名"
passwd="wifi密码"
插上TF到CoolPi主板,自动连接Wifi
-
Coolpi 4b EMMC镜像备份导出方法posted in Pi 4B
用户基于我们发布是镜像系统,安装软件或进行其他配置之后,如果想备份系统,有很多方法可以实现,我这里提供一个比较简单的思路供大家参考。
前置条件:
- 假如您手边有一张已经做好系统的TF卡
- 各种改动后的EMMC系统
核心操作步骤:
- 从EMMC启动系统,登陆桌面并打开终端命令行更改卷标
sudo su fatlabel /dev/mmcblk0p1 emmc-boot e2label /dev/mmcblk0p2 emmc-rootfs vim /boot/firmware/cmdline.txt 将writable替换为emmc-rootfs 然后保存退出 vim /etc/fstab 将writable替换为emmc-rootfs 然后保存退出 sync;-
插入TF卡,重启系统
-
默认优先从TF卡引导系统,进入系统之后,可以挂载EMMC分区进行备份压缩
-
Rockchip NPU2 SDKposted in AI Algorithm
RKNPU2 provides an advanced interface to access Rockchip NPU.
-
Rockchip rknn toolkit2posted in AI Algorithm
RKNN-Toolkit2 is a software development kit for users to perform model conversion, inference and performance evaluation on PC and Rockchip NPU platforms (RK3588, RK3588S).
RKNN-Toolkit-Lite2 provides Python programming interfaces for Rockchip NPU platform (RK3588, RK3588S) to help users deploy RKNN models and accelerate the implementation of AI applications.
-
Rockchip RK3588 kernel dts解析之显示模块posted in Ubuntu
RK3588 的VOP (video output process)分为4个Port
port	分辨率
VP0	4K
VP1	4K
VP2	4K
VP3	1080P
支持8个图层,每个图层可以灵活分配到每个Video Port上。
RK3588 支持的显示接口
- 2个DP
- 2个HDMI/eDP 共用接口
- 2个MIPI DSI
- BT656/BT1120
转自
https://blog.csdn.net/weixin_43245753/article/details/123496204