@Rock
Write the image to a USB drive, then boot the system from the USB drive, format EMMC after system startup, and then enter UMS to re burn.
Global Moderators
Forum wide moderators
Private
Posts
-
RE: Guru, please help me !posted in PI CM5 Laptop
-
RE: Cool Pi Cm5-Laptop Linux Quick Start Guideposted in PI CM5 Laptop
git checkout 6.1.75
./build-kernel.sh arm64
The deb file will be generated in the higher-level directory of the code and copied to the machine for installation.
-
RE: Any other distro booting?posted in PI CM5 Laptop
@petersen77
The compilation of Mesa is closely related to the DRM version, so pay attention to the version. -
RE: Cool Pi Cm5-Laptop Linux Quick Start Guideposted in PI CM5 Laptop
@Momo-0
TYPEC is only related to DTS, and the main issue with the sound card is Tinymix configuration. -
RE: Cool Pi Cm5-Laptop Linux Quick Start Guideposted in PI CM5 Laptop
@Momo-0
The official default configuration of ARMBIN's loadaddr and optee conflicts and needs to be modified to 0x200000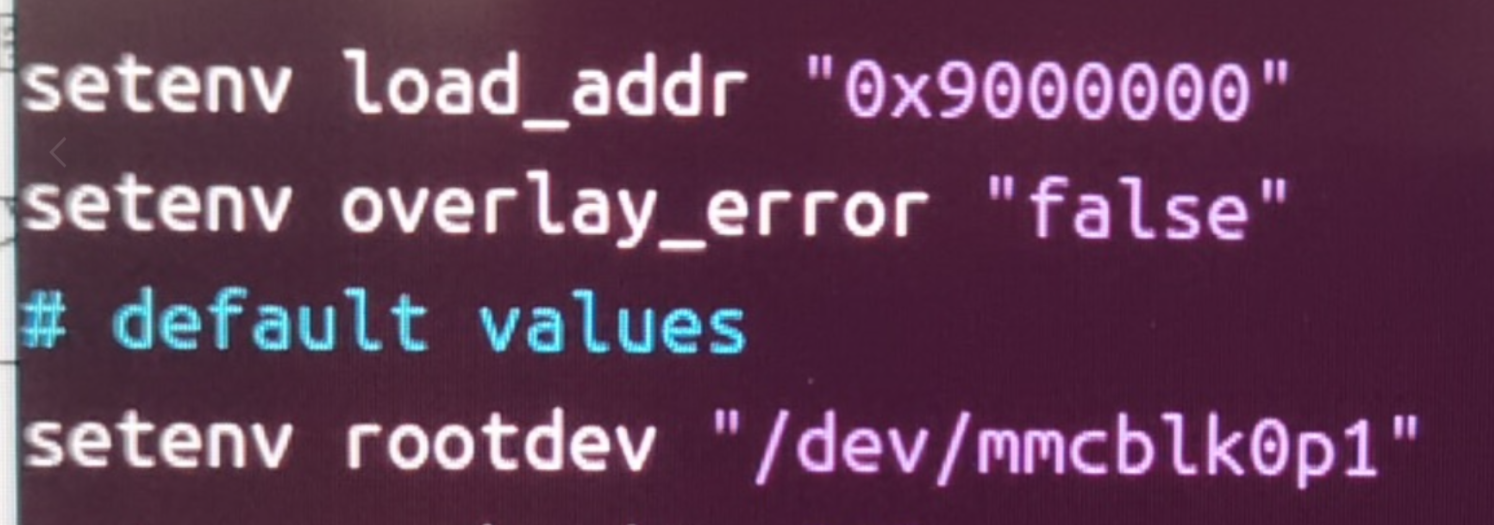
-
RE: Any other distro booting?posted in PI CM5 Laptop
@petersen77
Compile and install mesa24 or higher versions. -
Precautions for MOTION Remote Monitoringposted in Pi Gateway CP1B/CP2B/CP3B/CP3B-P
- Install the motion package
sudo apt install motion -y- Insert USB camera and recognize video node normally
admin@cp2b:~$ ls /dev/ |grep video video0 video1- Modify the following configurations
framerate 60 //Change frame rate to 100 stream_maxrate 60 //Add configuration webcontrol_localhost off //Support remote control stream_localhost off off //Support remote stream- Increase services
sudo systemctl start motion sudo systemctl enable motion sudo reboot- Accessing the camera, please note that HTTPS is not supported
http://you-ip-address:8081
-
RE: Any other distro booting?posted in PI CM5 Laptop
@petersen77
The rc.local script actually only performs simple scaling operations, which can be implemented anywhere in the system, such as creating a service yourself.
Regarding GPU issues, it is necessary to compile and install the latest version of Mesa by oneself. -
Coolpi WIFI Support Listposted in Pi Gateway CP1B/CP2B/CP3B/CP3B-P
Wifi Support List
Model Specifications Manufacturer Interface Supporting Machines RTL8852BE Wi-Fi 6+BT5.2 REALTEK PCIe 2.0 x1、M.2 Key E CM5-AIBOX/CM5-GENBOOK/CP3B/CP3B-HMI10 RTL8822CE Wi-Fi 5+BT5.0 REALTEK PCIe 2.0 x1、M.2 Key E CM5-AIBOX/CM5-GENBOOK/CP3B/CP3B-HMI10 RTL8822BE Wi-Fi 5+BT4.2 REALTEK PCIe 2.0 x1、M.2 Key E CM5-AIBOX/CM5-GENBOOK/CP3B/CP3B-HMI10 RTL8723BE Wi-Fi 4+BT4.0 REALTEK PCIe 1.1 x1、M.2 Key E CM5-AIBOX/CM5-GENBOOK/CP3B/CP3B-HMI10 RTL8188EE Wi-Fi 4 REALTEK PCIe 1.1 x1、M.2 Key E CM5-AIBOX/CM5-GENBOOK/CP3B/CP3B-HMI10 AX210 Wi-Fi 6+BT5.3 INTEL PCIe 2.0 x1、M.2 Key E CM5-AIBOX/CM5-GENBOOK/CP3B/CP3B-HMI10 AC7260 Wi-Fi 5+BT4.2 INTEL PCIe 2.0 x1、M.2 Key E CM5-AIBOX/CM5-GENBOOK/CP3B/CP3B-HMI10 AIC8800-D80 Wi-Fi 6+BT5.0 AIC USB2.0 CP1B/CP2B/CP3B-P MT7601-UN Wi-Fi 4 MediaTek USB2.0 CP1B/CP2B/CP3B-P -
Node-RED Installationposted in Pi Gateway CP1B/CP2B/CP3B/CP3B-P
Installation Based on Physical Machine
sudo apt update
curl -fsSL https://deb.nodesource.com/setup_20.x | sudo -E bash - &&\
sudo apt-get install -y nodejs
sudo apt install  npm
sudo npm install -g --unsafe-perm node-red
Based on Docker
mkdir /home/iotts/node_red
cd /home/iotts/
sudo chmod 777 node_red
sudo docker run -d --restart always -p 1880:1880/tcp -v /home/iotts/node_red:/data --name nodered nodered/node-red
Start on Boot
- Create a service
sudo nano /etc/systemd/system/node-red.service- Paste the following content in the editor:
[Unit] Description=Node-RED After=network.target [Service] ExecStart=/usr/bin/node /usr/bin/node-red User=sa [Install] WantedBy=multi-user.target- Reload the systemd manager configuration to make the new service effective:
sudo systemctl daemon-reload- Start the Node RED service and set it to boot up automatically:
sudo systemctl start node-red sudo systemctl enable node-red- Check the status of Node RED service:
sudo systemctl status node-redSet user password
- Open the settings. js file
vim /home/admin/.node-red/settings.js-
To modify the content of CredentialSecret, you need to set a key, not a login password. Save and exit.

-
Restart Ubuntu
sudo reboot- Generate username and password, using admin as an example here
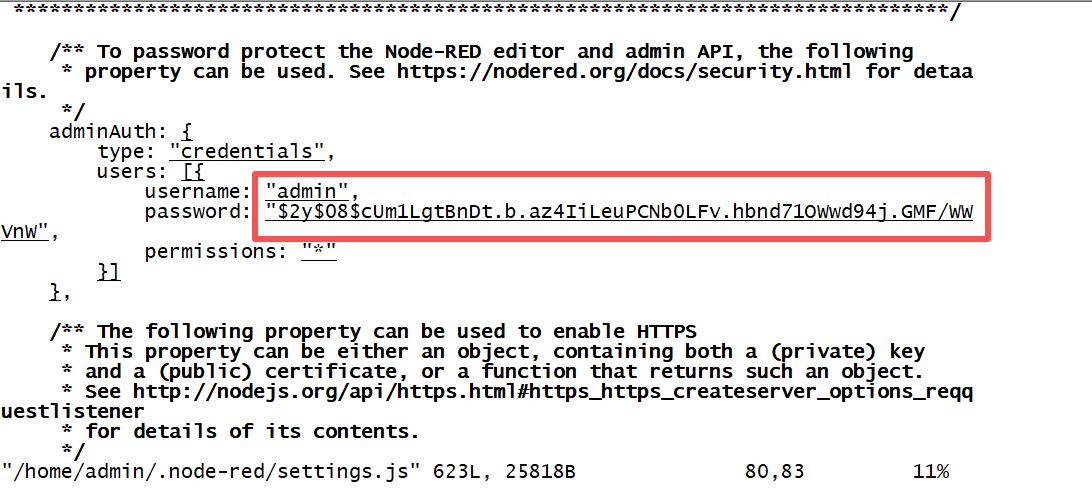
node-red admin hash-pwadmin@cp2b:~$ node-red admin hash-pw Password: $2y$08$cUm1LgtBnDt.b.az4IiLeuPCNb0LFv.hbnd71OWwd94j.GMF/WVnW-
Open the settings. js file, modify the content of adminAuth, and copy the string from earlier. Save and exit.
-
Restart Ubuntu
